How to Make a Trading Card Layout for Your Photo Booth
Trading Card Layout
Trading cards are one of the most popular photo booth formats for sports events, schools, and corporate activations. This guide covers building the layout — importing your card artwork and placing the photo slot.
Scope: this guide covers the layout only. Collecting guest names, numbers, and stats to print on the card is handled by Guest Input, which has its own guide.
Before You Start — Design Your Card
Flinzy doesn't design the card for you. You create the artwork in Canva (or any design tool) and import it.
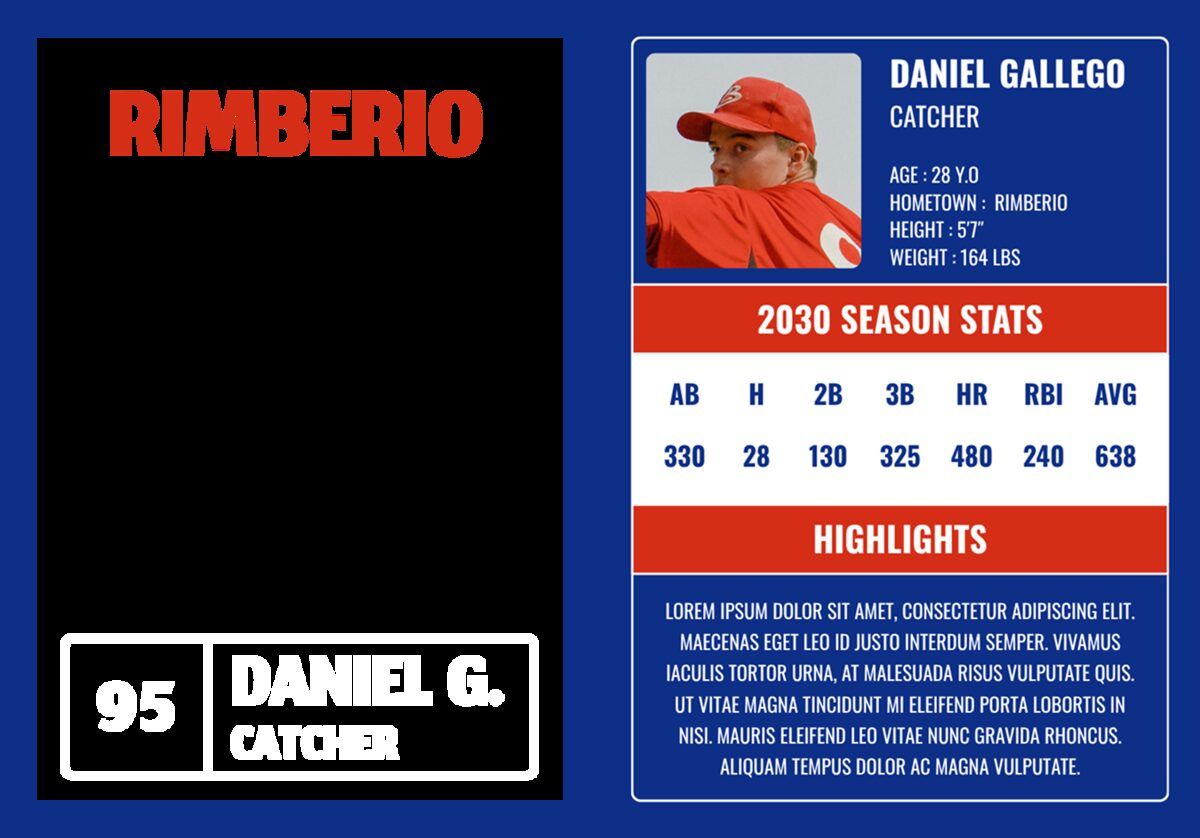
Card dimensions
Your artwork holds both sides of a single card, side by side — the photo side and the stats side. After printing you trim the edges, cut down the middle, and glue the two halves back to back. The result is one double-sided trading card.
| Inches | Pixels @ 300 DPI | |
|---|---|---|
| Finished card | 2.52 × 3.52 | 756 × 1056 |
| Your artwork — both sides side by side | 5.04 × 3.52 | 1512 × 1056 |
| Flinzy canvas — 4×6 landscape | 6 × 4 | 1800 × 1200 |
2.52 × 3.52 inches is the size commonly used for photo booth trading cards. A standard trading card is 2.5 × 3.5.
Your artwork must be landscape. At 5.04 inches wide it will not fit a portrait 4×6, which is only 4 inches across.
⚠️ Leave the photo area transparent
Export your artwork as a PNG with a transparent area wherever you want the guest's photo to appear. The photo slot sits behind the artwork and shows through that transparent region — so a filled area, even a white one, will hide the photo completely.
Anything you want printed over the photo — a logo, a name plate, a border — stays part of the artwork.
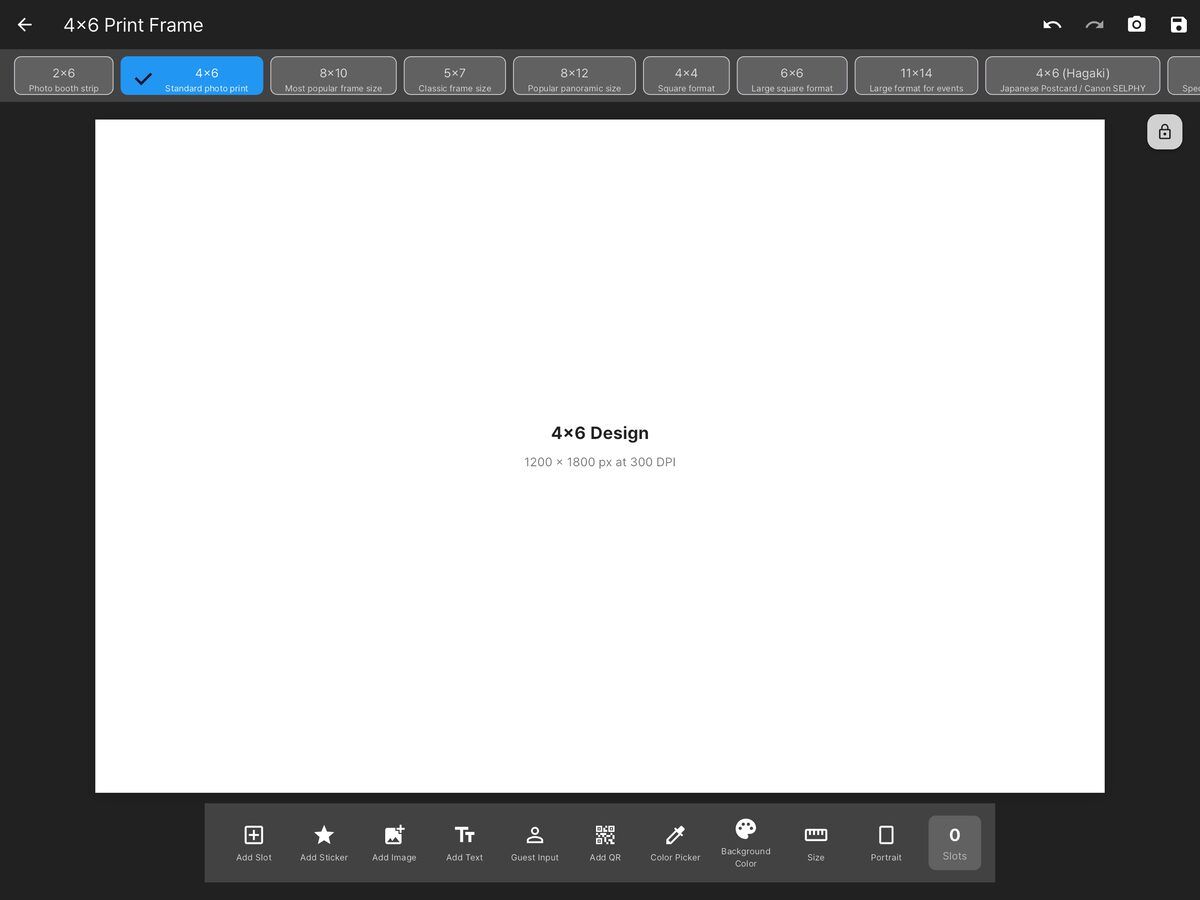
1. Open the Print Frame Editor
Choose 4×6 from the frame sizes along the top, and make sure the canvas is set to landscape — your 5.04-inch-wide artwork won't fit in portrait.
2. Import Your Artwork with Add Image
⚠️ Use Add Image — not Background
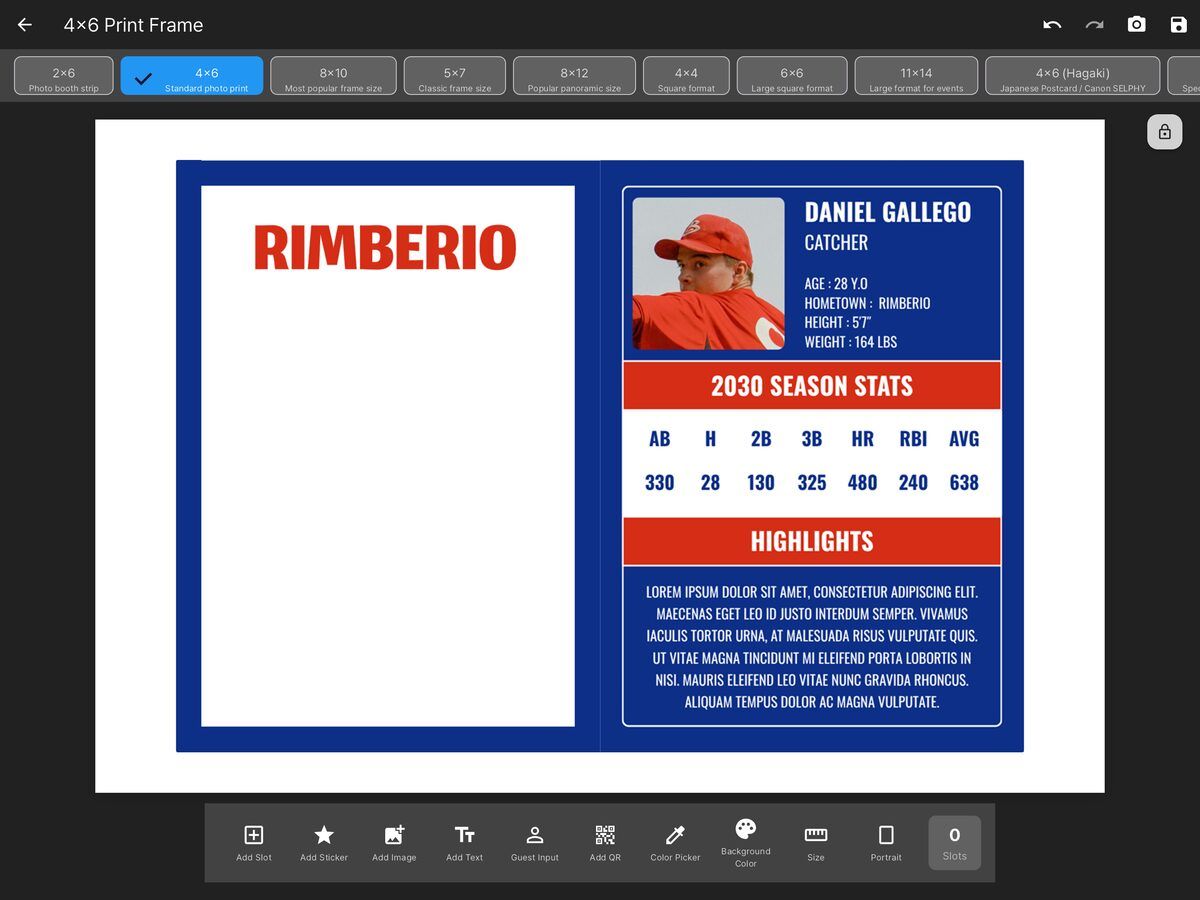
This is the mistake that breaks trading cards. A background image fills the entire sheet, which overrides your card's proportions and ruins the sizing. Add Image places your artwork as a resizable element, which is what you want.
Tap Add Image, pick your exported card design, and position it on the canvas.
3. Add a Photo Slot
Tap Add Slot. A slot appears labelled Slot 1, selected with blue handles. Once something is selected, the toolbar swaps to alignment and layering controls.
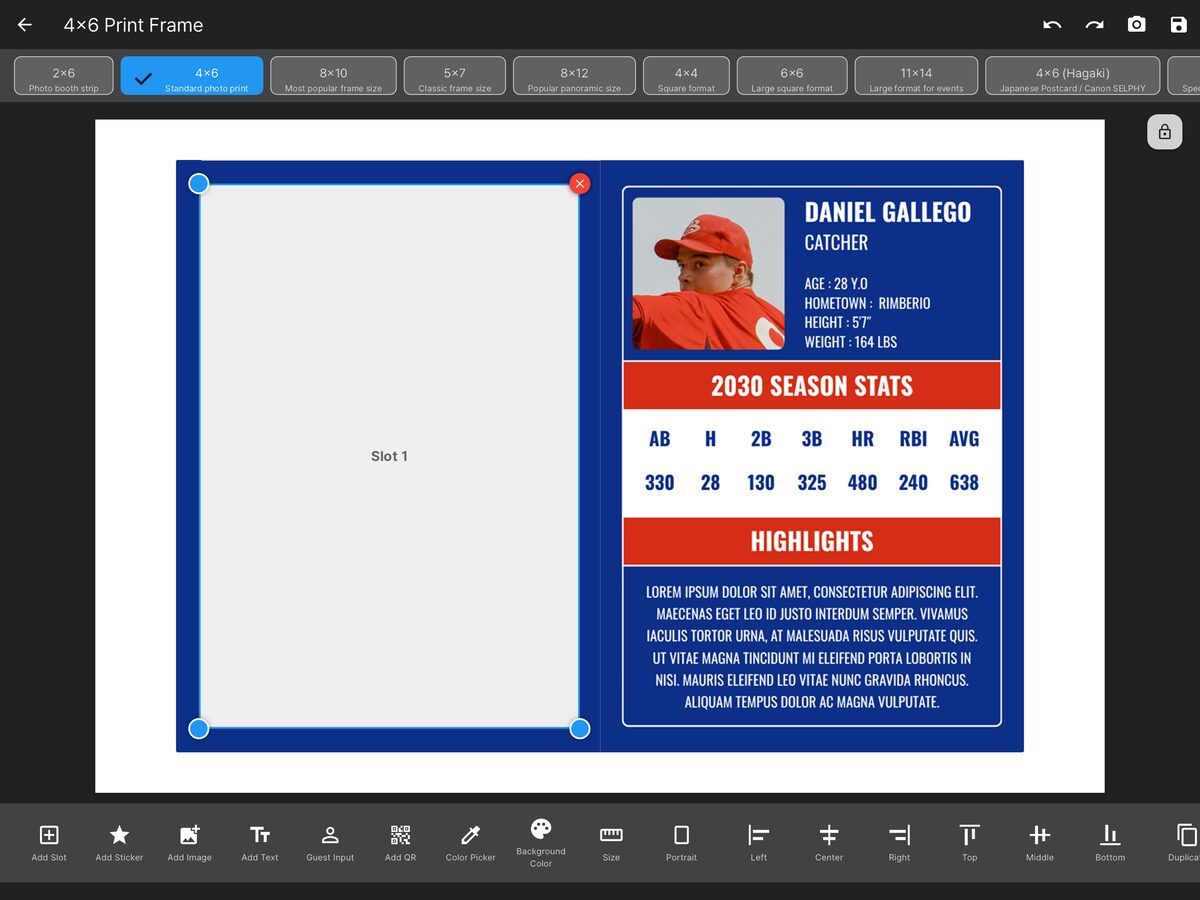
The slot is where the guest's photo lands. One slot per photo.
4. Position the Slot, Then Send It to Back
Drag the handles until the slot covers the photo area of your card.
Then — this step is easy to miss — send the slot to Back.
New slots are added in front of everything else, so the slot will be sitting on top of your artwork and hiding it. Tapping Back moves the slot behind the artwork, so your logo, name plate, and borders print over the photo instead of under it.
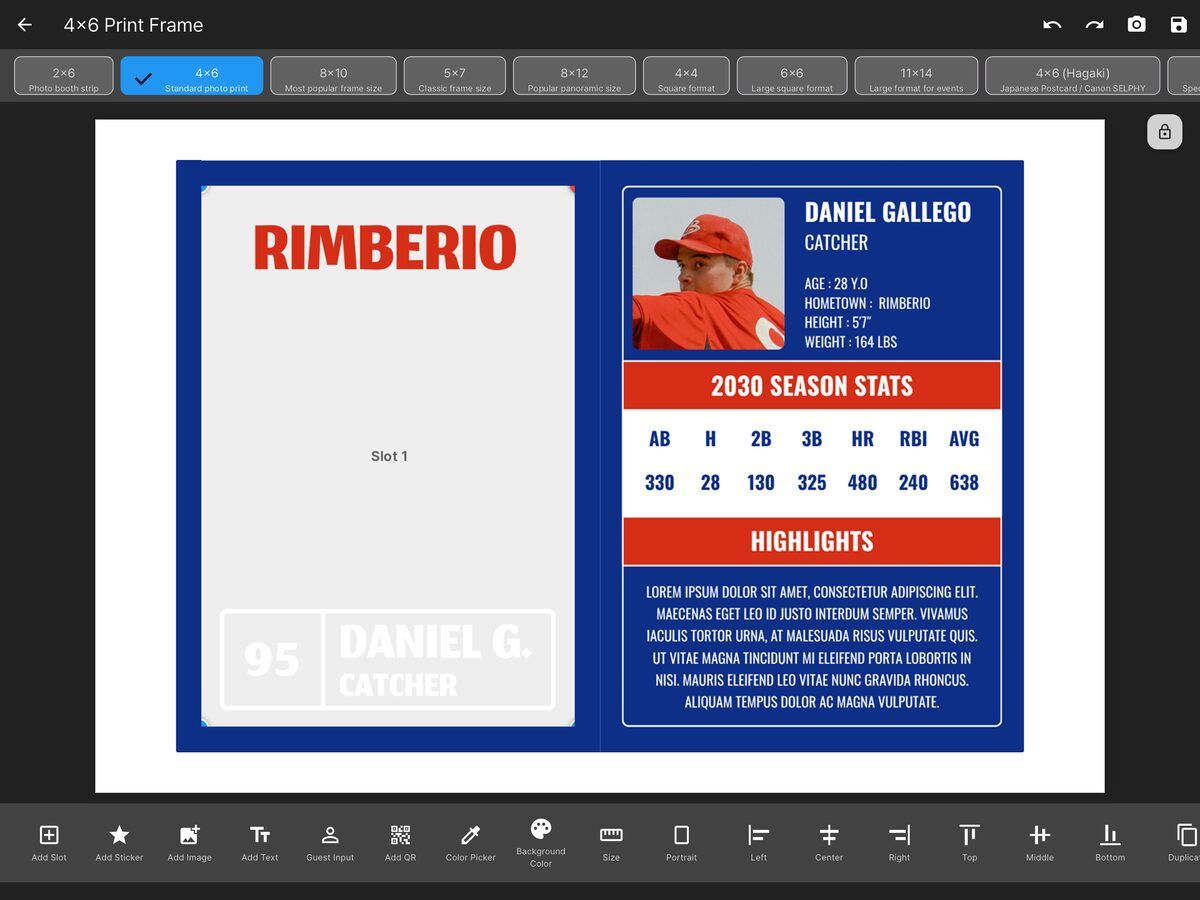
You can tell it worked when your artwork's details reappear over the slot area.
5. Save the Layout
Tap the save icon and choose how to save:
| Option | What it does |
|---|---|
| Save | Overwrites the layout you're editing |
| Save as New | Creates a new, separate layout and leaves the original untouched |
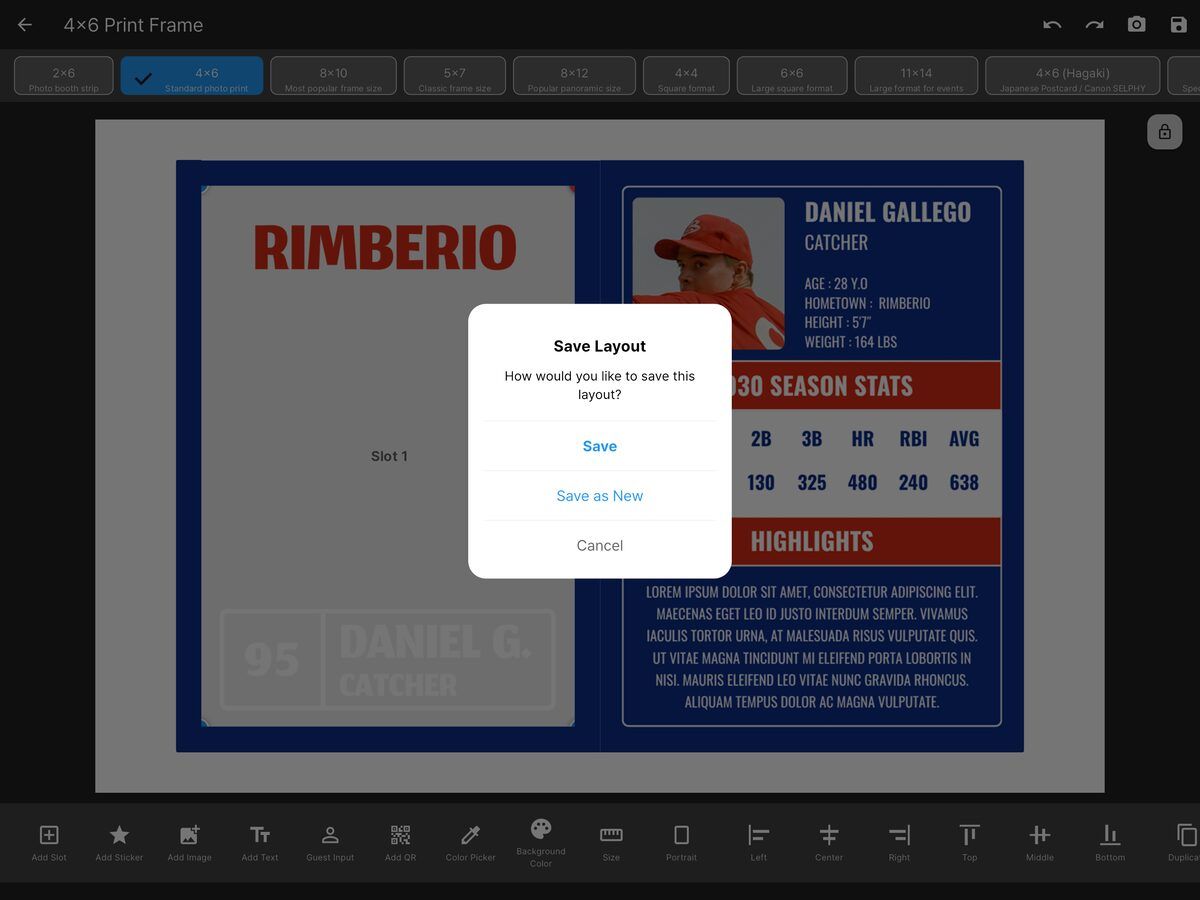
Use Save as New when you're building a variant — a second team, a different sponsor — and want to keep the original.
6. Use It in Your Event
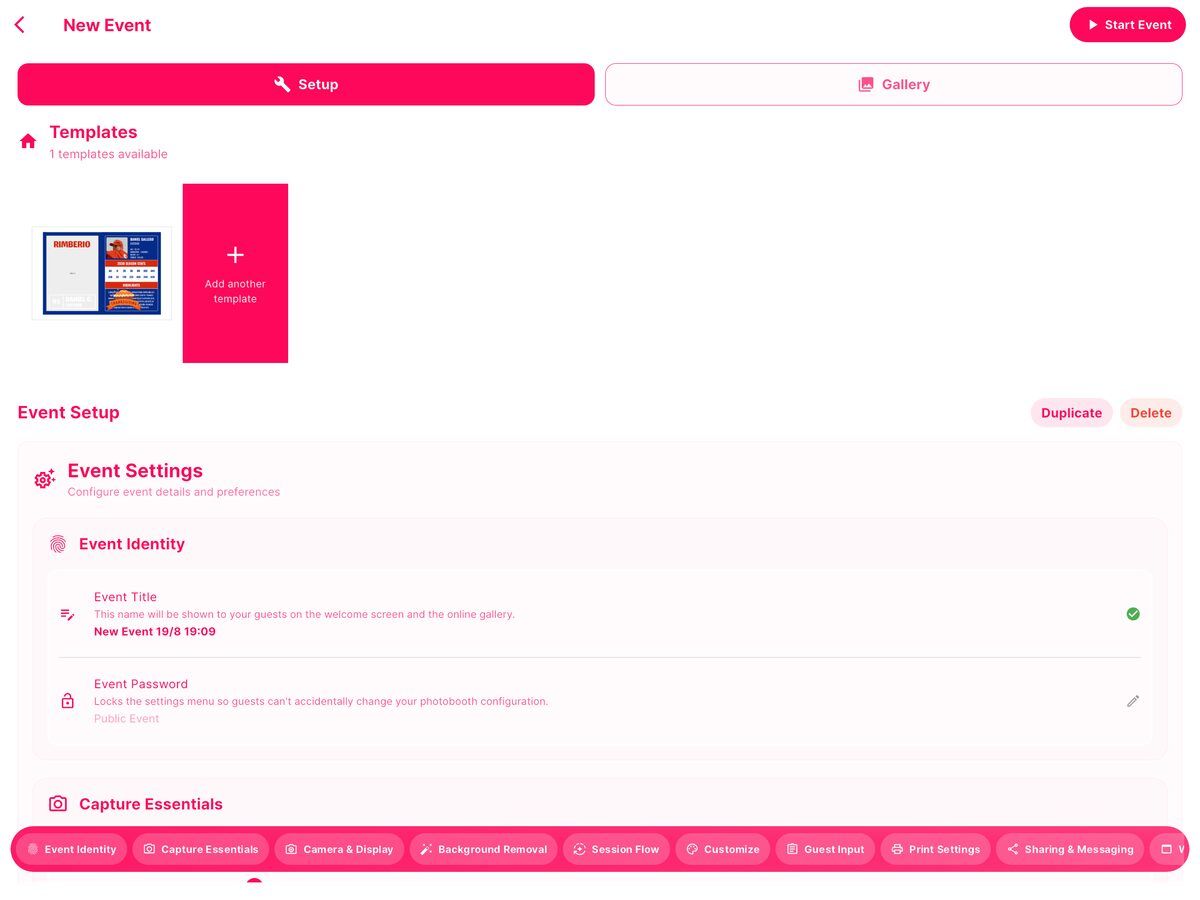
Your layout now appears under Templates in the event setup. Tap Add another template to build a second card for the same event.
Finishing the Card
Once the print comes out:
- Trim the outer edges of the print
- Cut down the middle, separating the two halves
- Glue them back to back — photo side out, stats side behind
You end up with one double-sided trading card that feels like the real thing.
Tips
- Design one card, reuse it all season. Save as New for each team or sponsor, and switch templates per event instead of rebuilding.
- Test print, cut, and glue one before the event. Borders are tight and printers vary in how much they trim. Doing the full finish once tells you whether your margins actually survive the cut.
- Check your export really is transparent. Open the PNG over a coloured background before importing. A white photo area looks identical to a transparent one in most previews, and you won't find out until a guest gets a blank card.
- Keep text out of the outer edge. Anything close to the border risks being cut off.
Want guests to enter their own name, number, and stats so each card is personalised? That's covered in the Guest Input guide.
Still stuck? Contact support and we'll help you set it up.