How to Customize Your Photo Booth Interface (Colors, Fonts, Logo)
Customize Interface
Customize Interface lets you rebrand every screen your guests see — colors, fonts, your own logo, custom button images, and even the on-screen keyboards. Set it once per event, and the whole booth matches your client's branding.
Where to Find It
Open your event and stay on the Setup tab. Tap Customize in the bottom bar to jump straight to the Customize Interface section, then open it.
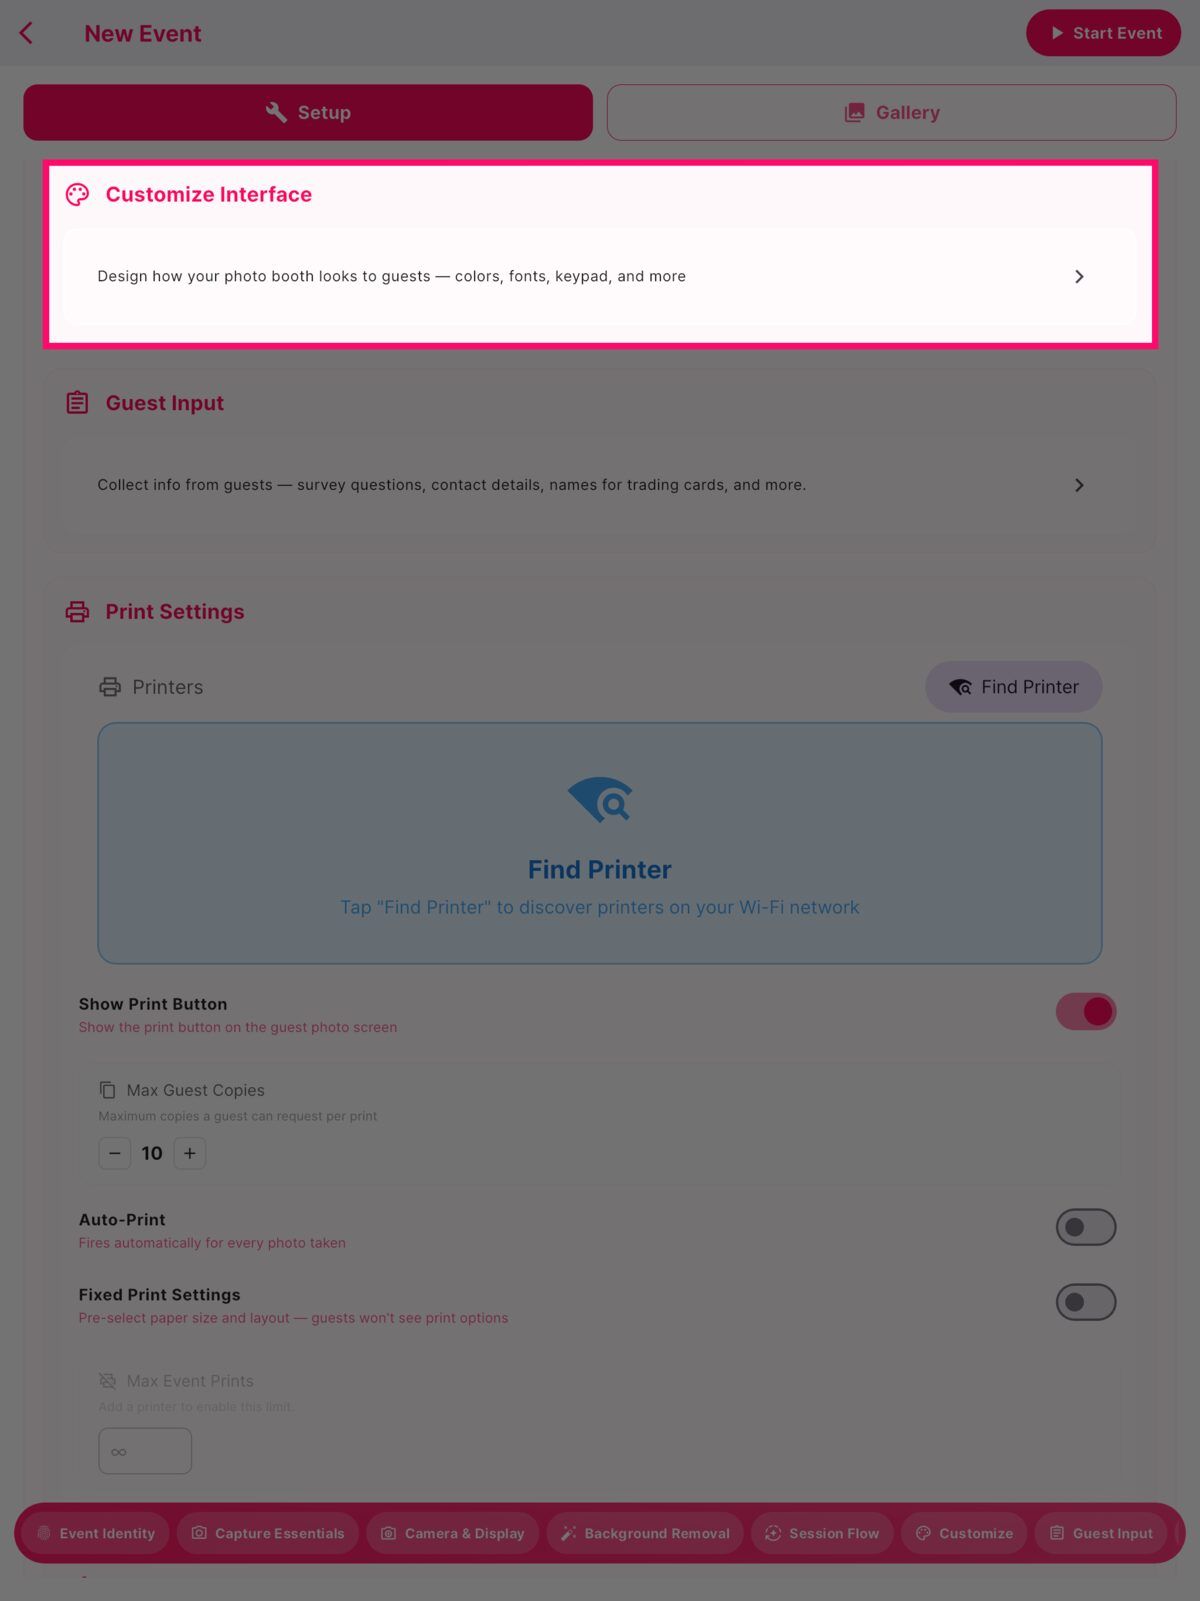
Settings are saved per event, so each client can have a completely different look.
Photo Screen
Find the Photo Screen section. This controls the screen guests see after taking their photos, and a live preview shows every change as you make it.
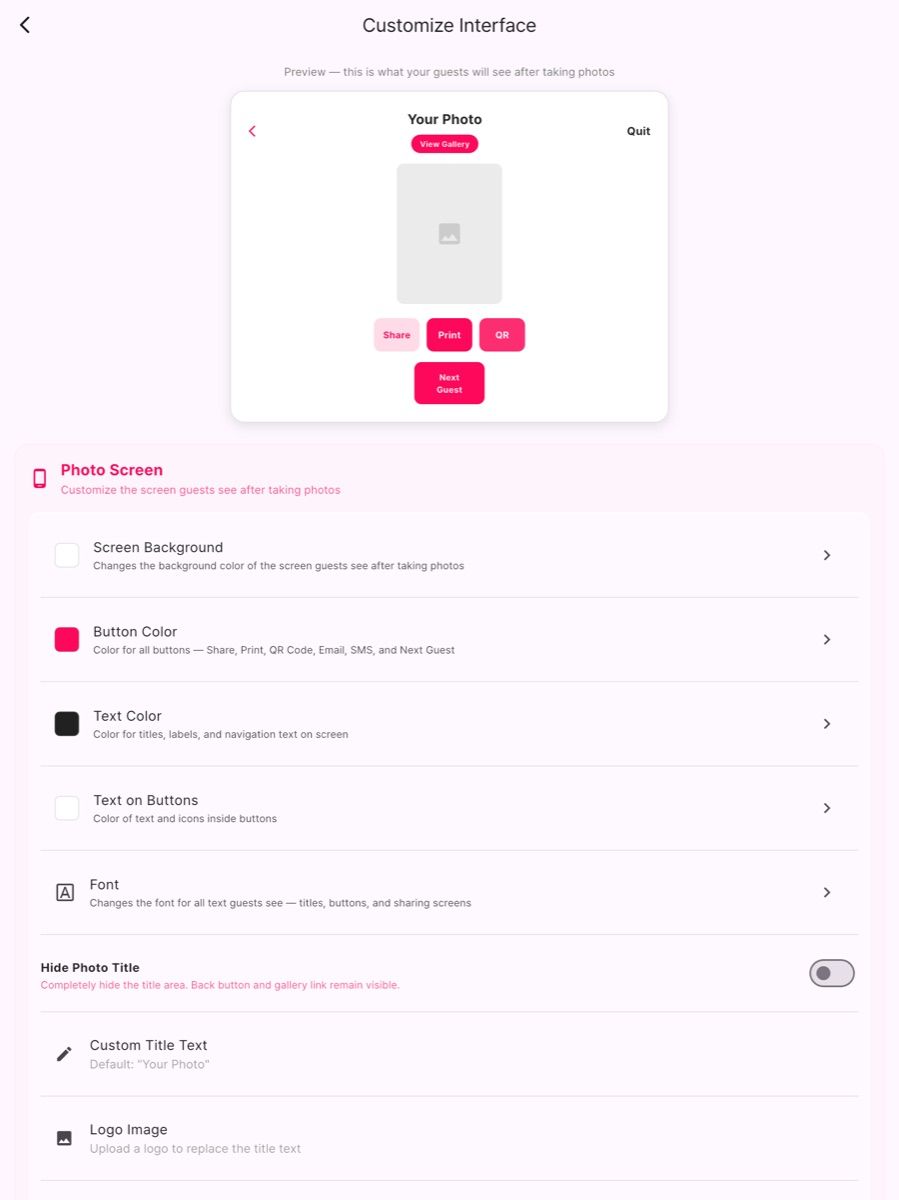
| Setting | What it changes |
|---|---|
| Screen Background | Background color of the screen guests see after taking photos |
| Button Color | Color for all buttons — Share, Print, QR Code, Email, SMS, and Next Guest |
| Text Color | Titles, labels, and navigation text |
| Text on Buttons | Color of text and icons inside buttons |
| Font | Font for all guest-facing text — titles, buttons, and sharing screens |
| Custom Title Text | Replaces the default "Your Photo" heading |
| Logo Image | Upload a logo to replace the title text entirely |
| Hide Photo Title | Hides the title area completely. Back button and gallery link stay visible |
Button Images
Replace the standard action buttons with your own artwork. Each one can be set independently.
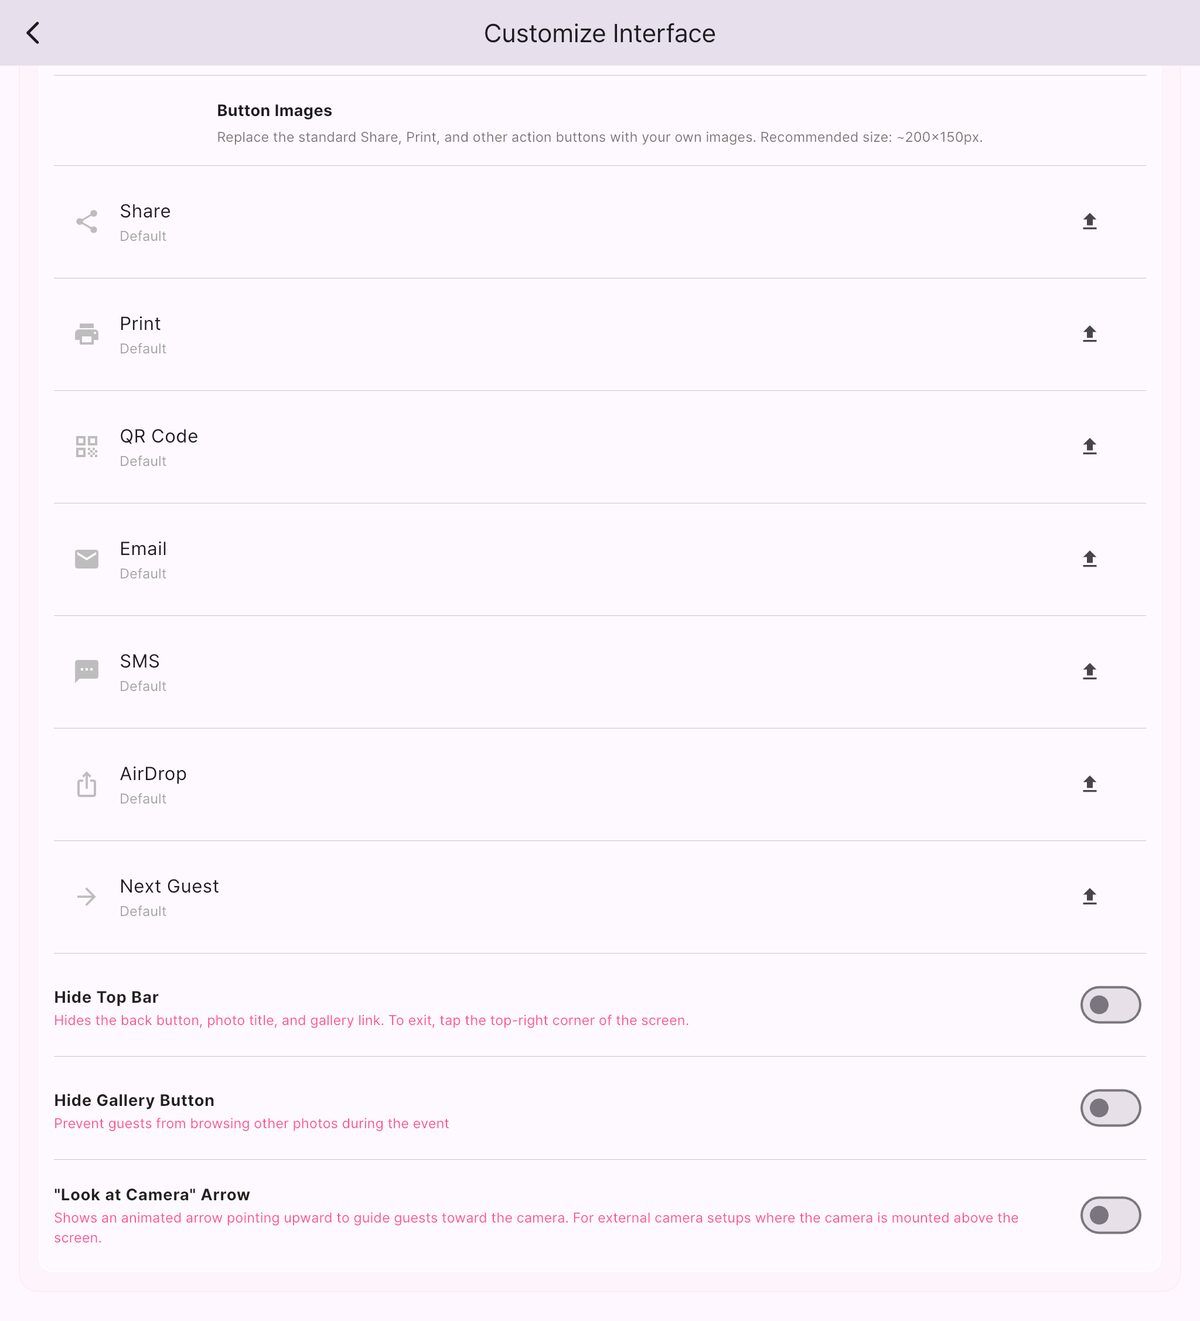
You can upload custom images for Share, Print, QR Code, Email, SMS, AirDrop, and Next Guest.
Recommended size: ~200×150px.
Screen behavior
| Toggle | What it does |
|---|---|
| Hide Top Bar | Hides the back button, photo title, and gallery link. To exit, tap the top-right corner of the screen |
| Hide Gallery Button | Prevents guests from browsing other people's photos during the event |
| "Look at Camera" Arrow | Shows an animated arrow pointing upward to guide guests toward the camera — for setups where an external camera is mounted above the screen |
Hide Top Bar is the one to use for unattended booths. Guests can't navigate away, but you can still exit by tapping the top-right corner.
Camera Screen
Find the Camera Screen section. This controls the shutter button guests tap to start their session.
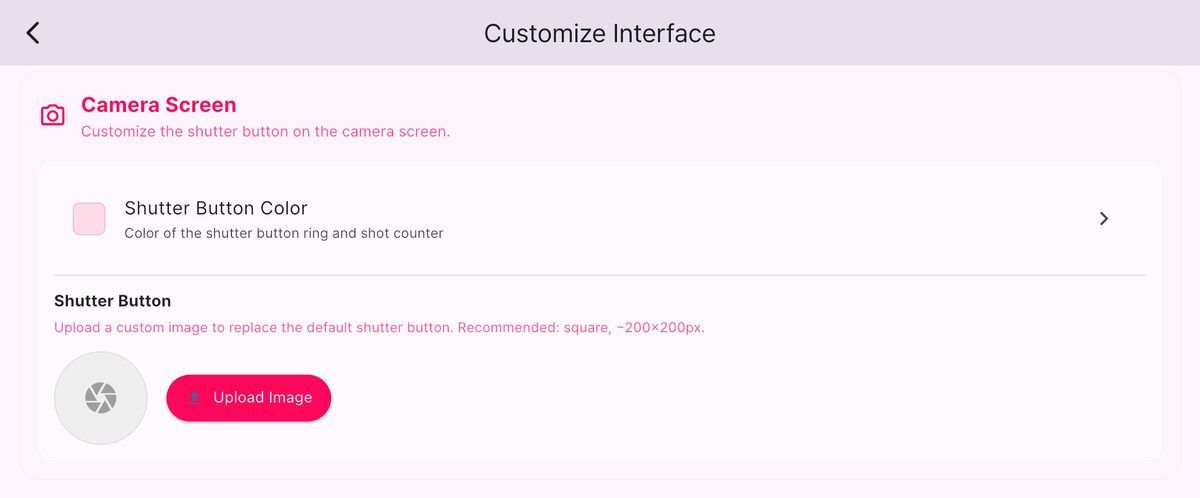
- Shutter Button Color — color of the shutter button ring and the shot counter
- Shutter Button — upload a custom image to replace the default button entirely
Recommended size: square, ~200×200px.
Keyboards & Keypads
Find the Keyboards & Keypads section. Guests type on three different input screens depending on how they want their photo, and all three share the same key colors — so you only set them once.
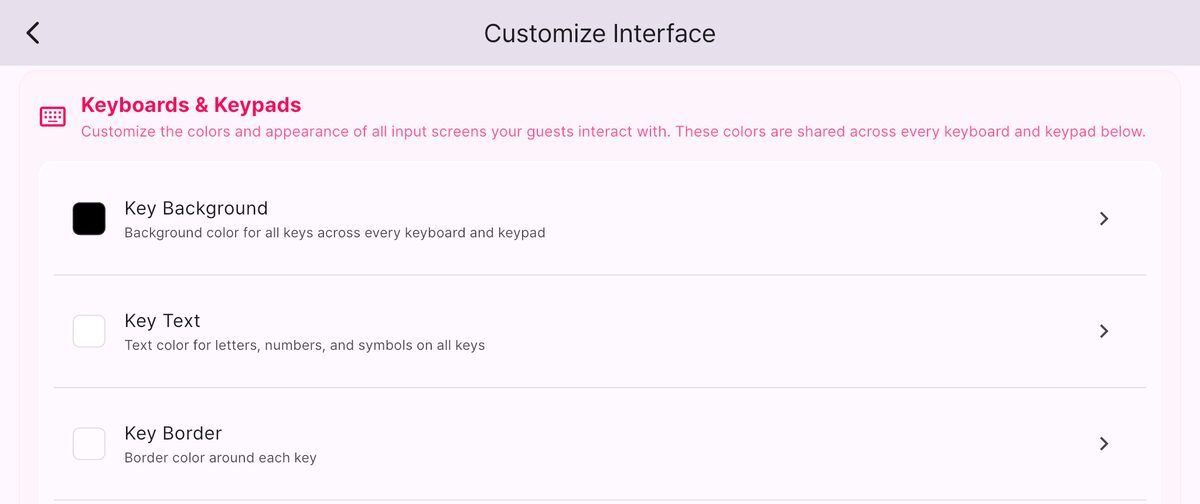
- Key Background — background colour for all keys, across every keyboard and keypad
- Key Text — letters, numbers, and symbols
- Key Border — border around each key
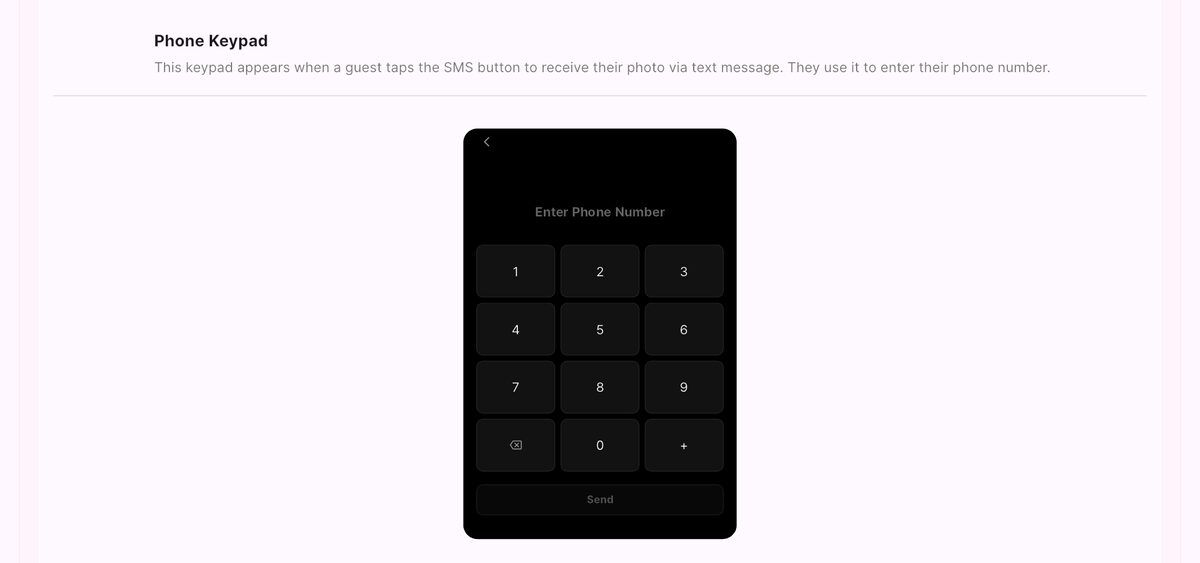
Phone Keypad
Appears when a guest taps SMS to receive their photo by text message. They use it to enter their phone number.
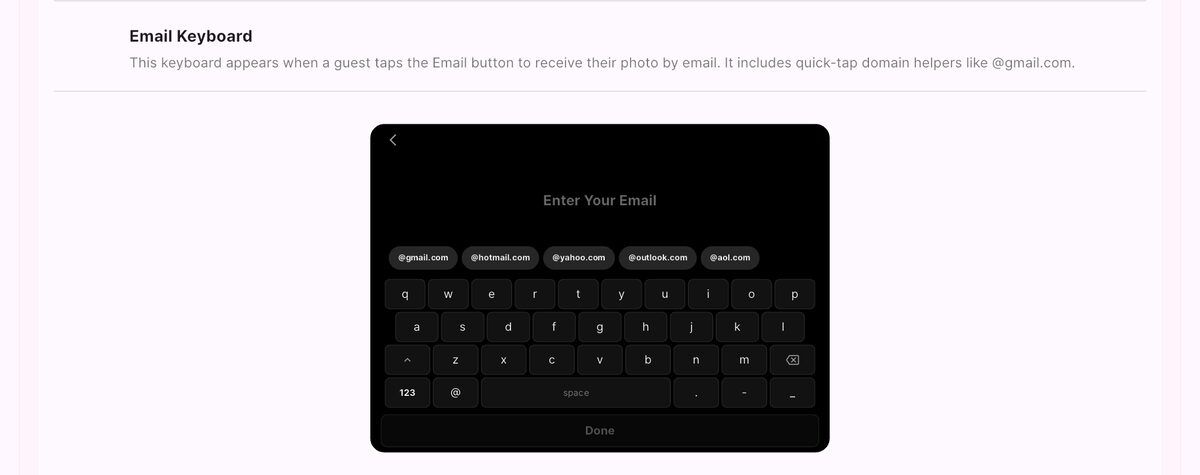
Email Keyboard
Appears when a guest taps Email. It includes quick-tap domain helpers like @gmail.com, @hotmail.com, and @yahoo.com so guests don't have to type the whole address.
Guest Input Keyboard
Replaces the default system keyboard when guests type answers to your Guest Input questions, so the experience stays fully branded.
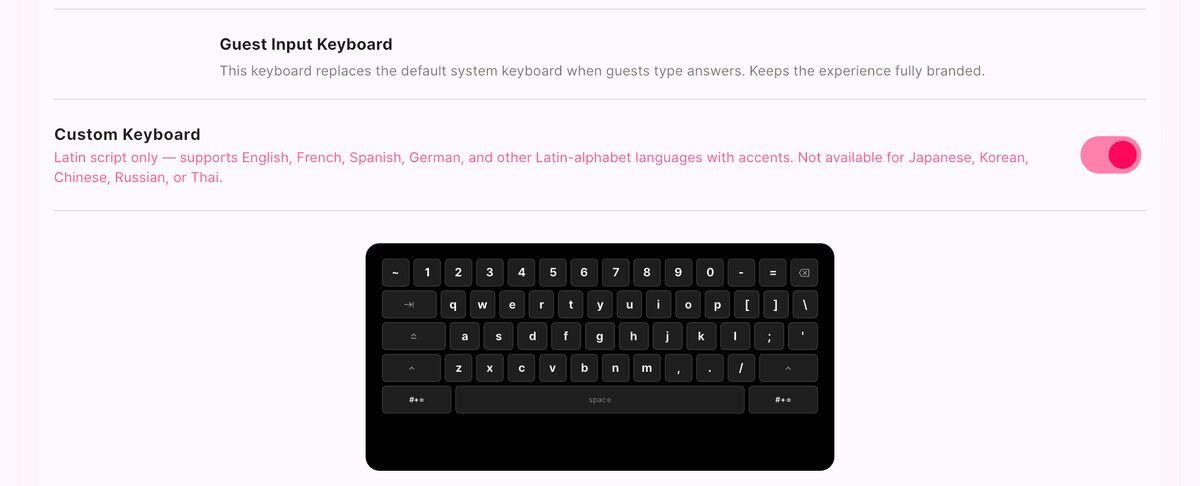
Custom Keyboard is Latin script only. It supports English, French, Spanish, German, and other Latin-alphabet languages with accents. It is not available for Japanese, Korean, Chinese, Russian, or Thai — turn it off if your guests will type in those languages, and they'll get the standard system keyboard instead.
Tips
- Preview as you go. The Photo Screen preview updates live — no need to start an event to check your work.
- Contrast matters more than brand match. Guests use these screens once, in bad lighting, often in a hurry. If your client's brand colors are low-contrast, keep the text color dark and put the brand color on the buttons.
- Test the keyboard language before the event if guests may type non-Latin characters.
Need help setting this up for a specific event? Contact support and we'll walk you through it.